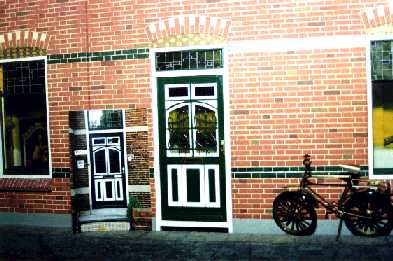
| A lot of people asked me
how I 'did' the brick: I first painted the boards with
white paint (just normal wall-paint) twice or three
times. It must be a thick layer that's really dry. Then I
painted little pieces (10 x 10 cm, or approximately 4 x 4
inches) at a time with brick colored craft paint. When it
was still wet, I sprinkled fine craft sand on the red
paint. The paint colored the sand red immediately. You
can also buy colored sand intended for "sand
painting" at craft stores in the U.S. Then wait just
for 10 minutes till it's almost dry and scrape away the
joins (mortar lines) so the white comes up. I scratched
with a pricking-pen my children use or an embroidery
needle alongside a see-through ruler (the ruler became
red afterwards).
If the paint is all dry,
you can't scrape the red paint neatly without scraping
the white paint also. If the paint is too wet, it will
fill the joins while scraping.
|
 |
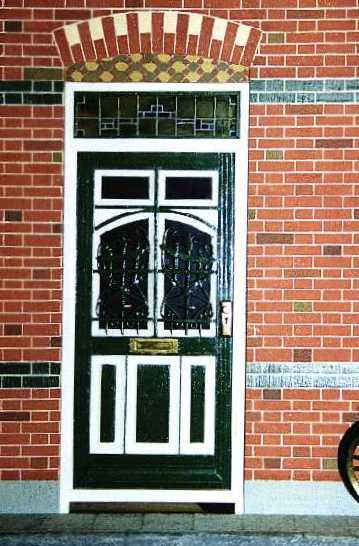 |
Do the next small section,
and so on. After this I filled some of the 'bricks' with
a different colour (brown, greenbrown, yellow-red, and
other shades) with a very fine brush - brick by brick.
Approximately 20 percent has a second color like this. I
didn't like it all red. Over the years the white joins have
become lightly beige or yellow because of sun, dust etc.
I've noticed that my hard-board was better going then the
softer balsa-wood pieces I used for the window sills.
Then the paint absorbed into the wood too much. Maybe a
good primer-sealer coat first would help in those cases.
I also noticed that thick paint works better then new
thin paint. The great advantage of this method is that
one can always repaint or repair bits and pieces plus
make patterns above the windows like real life exactly
the size you want.
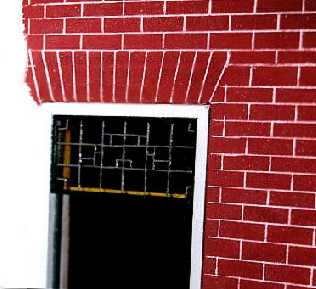
On top of each window I
scraped two layers of wood away (the board I used are 5
layers thick and is called Multiplex-wood) to make window
'caps' from little mosaic-tiles. This was also just
paint, this time without the sand. The last advantage is
that, when I decided the windows fall INto the walls, I
could go through painting the insides of the windows till
the point it meets the wood of the windows. By the way: I
also made the windows myself and they are still not glued
so I can change the drapings on my table and wallpapering
behind the window-trimming.
|
